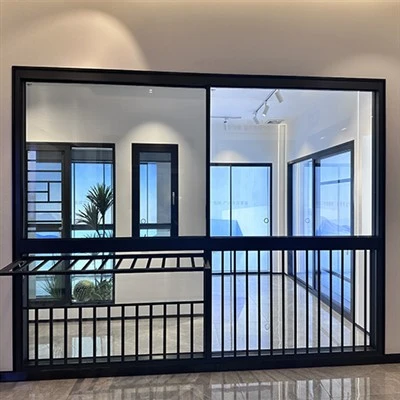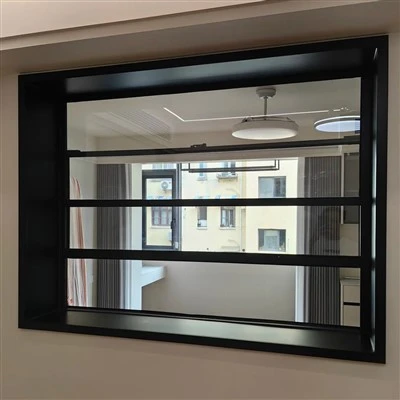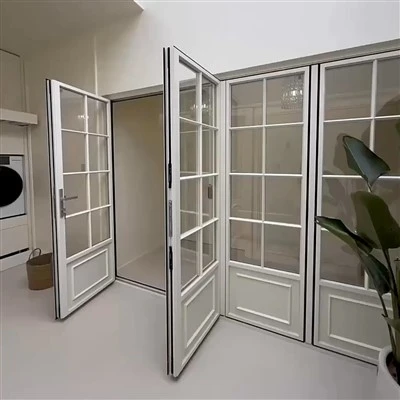



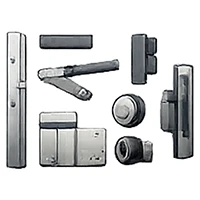

Installation sequence: Marking and positioning → Installation of drip caps (weather bars) → Anti-corrosion treatment → Positioning the window units → Securing the windows → Sealing the gap between the frame and the wall → Installing sashes and glass → Installing hardware accessories.
Marking and positioning: (1) Based on the installation location, dimensions, and elevation specified in the design drawings, measure outward from the centerline of the window to mark the side boundaries. For multi-story or high-rise buildings, use the side lines of the top-floor windows as the reference; project these lines downward using a plumb bob or theodolite and mark them at each floor's window opening. Chisel away any irregularities in the opening edges to ensure straightness. (2) Determine the horizontal position by measuring upward from the +50cm indoor floor level line to establish the elevation of the window sill (bottom edge of the window frame) and snap a chalk line to ensure alignment. The sill elevation must be consistent across each floor.
Installation of drip caps: Secure the drip caps to the aluminum alloy windows in accordance with the construction drawings, ensuring correct positioning and firm attachment.
Anti-corrosion treatment: (1) If the design specifies anti-corrosion treatment for the outer surfaces of the window frames, follow those specifications. In the absence of specific design requirements, apply an anti-corrosion coating or affix a protective plastic film; this prevents direct contact between cement mortar and the aluminum alloy surface, which could trigger an electrochemical reaction and cause corrosion. (2) When securing windows using metal connectors (such as iron brackets or fasteners), stainless steel components are preferred. Otherwise, anti-corrosion treatment is mandatory to prevent electrochemical reactions that could corrode the aluminum alloy windows.
Positioning the window units: Install the aluminum alloy window frames according to the marked positioning lines. Promptly adjust the frames to ensure the horizontal level, vertical alignment, and diagonal measurements meet quality standards, then temporarily secure them using wooden wedges.
Fixing of aluminum alloy doors and windows: (1) When iron inserts are pre-embedded in the wall, the iron mounting lugs of the aluminum alloy doors and windows may be welded directly to these inserts; the weld joints must undergo anti-rust treatment. (2) When there are no pre-embedded iron inserts, metal or plastic expansion bolts may be used to secure the iron mounting lugs to the wall. (3) Alternatively, when no pre-embedded inserts exist, an electric drill may be used to create a hole 80mm deep and 6mm in diameter in the wall; an L-shaped 6mm-diameter steel bar (measuring 80mm × 50mm) is then used. Cement mortar mixed with "108" adhesive is applied to the longer end of the bar before driving it into the hole. Once the mortar has fully set, the iron mounting lugs of the doors and windows are welded securely to the embedded steel bar.
Treatment of the gap between the door/window frame and the wall: (1) After the aluminum alloy doors and windows are installed and secured, an inspection of the concealed works must be conducted; upon passing inspection, the gap between the frame and the wall should be treated promptly in accordance with design requirements. (2) If the design does not specify a method, the gap may be filled in layers using elastic thermal insulation materials or glass wool strips, leaving a 5–8mm deep groove on the outer surface to be filled with caulking compound or sealant.
Installation of door/window sashes and glass: (1) Door/window sashes and glass should be installed only after the wall surface finish at the opening has been completed and inspected. (2) For sliding doors and windows, once the frame is installed and secured, the sash (with glass already fitted) is inserted into the frame's guide tracks as a complete unit, and the clearance between the sash and frame is adjusted. (3) For casement doors and windows, the glass is installed after the frame and sash assembly has been mounted and secured to the wall; specifically, the clearance between the frame and sash is adjusted first, the glass is then fitted into the sash and positioned correctly, and finally, sealing strips and sealant are applied. (4) For floor-spring doors, the door sash should be installed only after the door frame and the floor-spring mechanism have been installed and secured in place. First, fit the glass into the door leaf frame and install the assembly into the main frame; adjust the gap between the frame and the leaf, and finally install the sealing strips and sealant for the door glass.